Post-Winter Ice Dam Damage: A Wisconsin Roof Repair Guide
Wisconsin winters are brutal on roofs. Learn how to spot ice dam damage this spring and what repairs your roof may need before the next season hits.
What Wisconsin Winters Leave Behind on Your Roof
If you're a homeowner in Watertown or anywhere across southeast Wisconsin, you already know what a punishing winter looks like. Freeze-thaw cycles, heavy snowpack, and prolonged sub-zero temperatures don't just make life uncomfortable — they put serious stress on your roof. And one of the most damaging winter culprits? Ice dams.
Now that April is here and the snow is finally melting away, spring is the ideal time to assess what your roof endured over the past few months. This guide walks you through what ice dam damage looks like, how serious it can get, and what steps you should take to protect your home this season.
What Is an Ice Dam and Why Does It Happen?
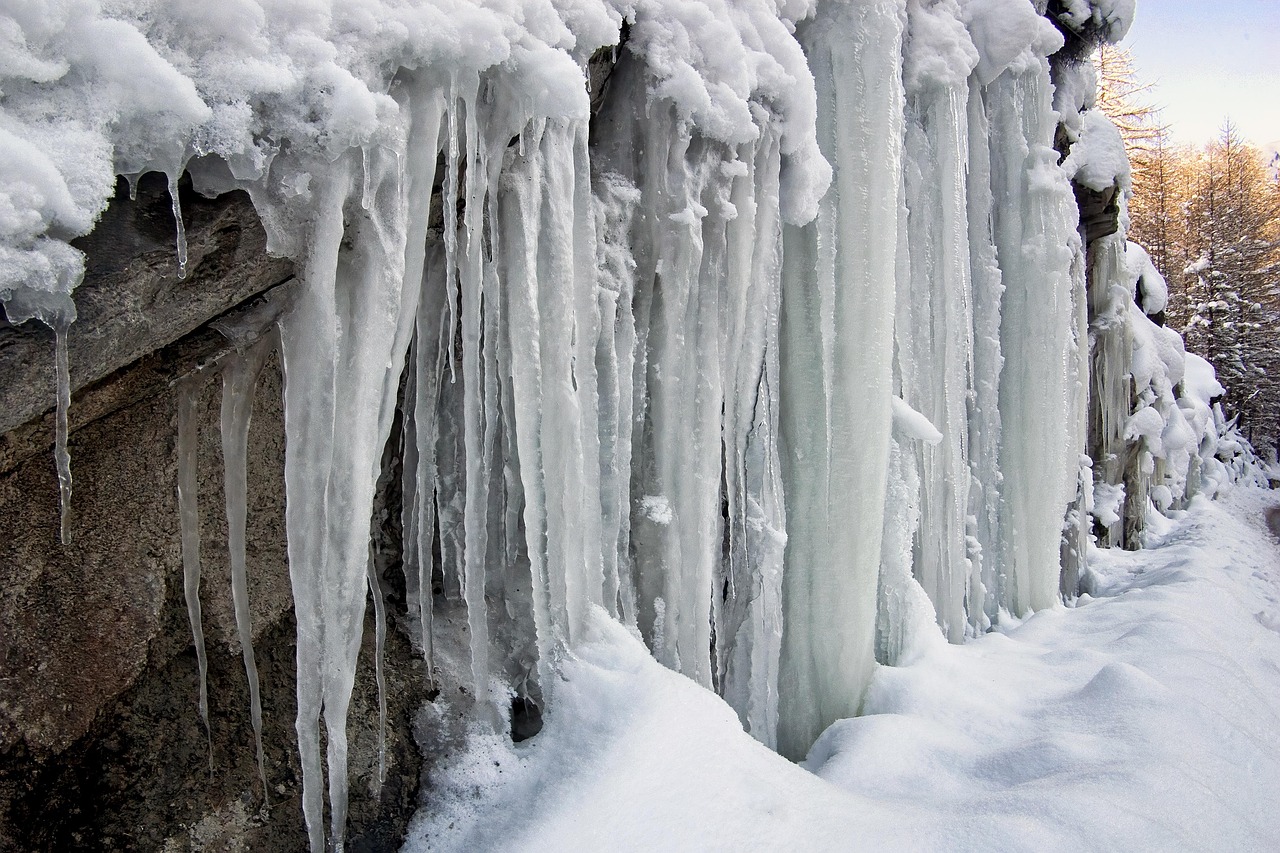
An ice dam forms when heat escaping from your home's interior warms the upper portion of your roof, melting snow. That snowmelt runs down toward the colder eaves and refreezes, creating a thick ridge of ice. As more snowmelt backs up behind this ice barrier, it has nowhere to go — except under your shingles.
Once water infiltrates beneath your shingles, the damage can spread quickly:
- Lifted or cracked shingles from repeated freeze-thaw expansion
- Damaged or missing flashing around chimneys, skylights, and vents
- Compromised underlayment that no longer seals out moisture
- Water intrusion into the attic, leading to mold, rot, and insulation damage
- Stained or damaged interior ceilings and walls
Many homeowners don't realize the full extent of ice dam damage until water stains appear inside their home — often weeks after the ice has melted.
How to Inspect Your Roof for Ice Dam Damage This Spring
You don't need to climb on your roof to do a first-pass inspection. Start from the ground and inside your home.
Outside Inspection Checklist
- Look at your gutters. Are they sagging, pulling away from the fascia, or filled with granules from your shingles? These are red flags.
- Scan the roofline. Do you notice any shingles that appear lifted, curled, cracked, or missing entirely?
- Check the flashing. Metal flashing around chimneys, vents, and valleys can be bent or separated by ice movement.
- Examine the soffits and eaves. Staining, peeling paint, or rotting wood near the roofline can indicate water has been backing up.
Inside Inspection Checklist
- Check your attic. Bring a flashlight and look for water stains, wet insulation, mold growth, or daylight visible through the roof deck.
- Look at ceilings on the top floor. Water stains or bubbling paint near exterior walls are common signs of ice dam infiltration.
Practical Tip #1: Do your interior inspection on a sunny day after a rain. Fresh water stains are easier to spot and help you track the exact leak point.
What Repairs Might Your Roof Need?
Depending on what you find, post-ice-dam repairs can range from minor to significant.
Minor damage may include replacing a handful of lifted or cracked shingles, resealing flashing, or clearing and reattaching gutters.
Moderate damage may require replacing sections of underlayment or ice-and-water shield — a critical protective membrane that runs along the eaves specifically to guard against ice dam leaks.
Significant damage — especially if water has reached your roof deck or attic framing — may involve structural repairs, mold remediation, and potentially a full or partial roof replacement.
Practical Tip #2: Don't wait on repairs. Even small areas of compromised roofing allow moisture to spread. What costs a few hundred dollars to fix today can become a multi-thousand-dollar project by fall.
Could Your Roof Benefit from RoofMaxx?
If your roof is 7–15 years old and the shingles are showing early signs of wear — dryness, brittleness, or minor granule loss — but aren't yet at the end of their lifespan, RoofMaxx roof rejuvenation may be an excellent option before replacing the entire roof.
RoofMaxx is an EPA-certified, bio-based soy formula that penetrates your existing asphalt shingles and restores the natural oils that keep them flexible and weather-resistant. A single RoofMaxx treatment can extend your roof's life by 5 or more years, comes with a 5-year transferable warranty, and costs a fraction of full replacement.
For Wisconsin homeowners whose roofs have been stressed by winter but still have serviceable life remaining, RoofMaxx is worth serious consideration this spring.
Practical Tip #3: A professional roof inspection can help you determine whether repair, RoofMaxx treatment, or full replacement is the right call — and save you from over-investing or under-protecting your home.
Let Save My Roof Help You Start Spring Right
At Save My Roof in Watertown, WI, we specialize in helping southeast Wisconsin homeowners recover from exactly this kind of winter damage. From ice dam repairs and flashing work to RoofMaxx rejuvenation and full roof replacement, our team gives you honest assessments and quality workmanship — no pressure, no upselling.
Spring is the best time to get ahead of roofing problems before summer storms and next winter's freeze arrive. Contact Save My Roof today for a free roof inspection and find out exactly where your roof stands after this past Wisconsin winter.
Want a free roof assessment? Get a Free Quote